Jenkins - Add Slave Nodes as JNLP Agents
If it is required to run Jenkins master in an isolated network and master should not be allowed to connected to its nodes(agents), we can use JNLP method to add agents to master to process jobs in distributed manner. In this scenario, its not desirable to have master connections with slave(agent) nodes but agent to master connections only required.
Only Agent to master connections
In this case the agent node will not be visible to the master, so the master can not initiate the agent process. You can use a different type of agent configuration in this case called “JNLP”. This means that the master does not need network “ingress” to the agent (but the agent will need to be able to connect back to the master). Handy for if the agents are behind a firewall, or perhaps in some more secure environment to do trusted deploys.
Configuration
In order to setup a slave agent in above scenario you need to first Enable the JNLP Agents:
Go to Manage Jenkins –> Configure Global Security –> under Agents section –> TCP port for inbound agents –> select Random –>Save.

Setup slave agent node
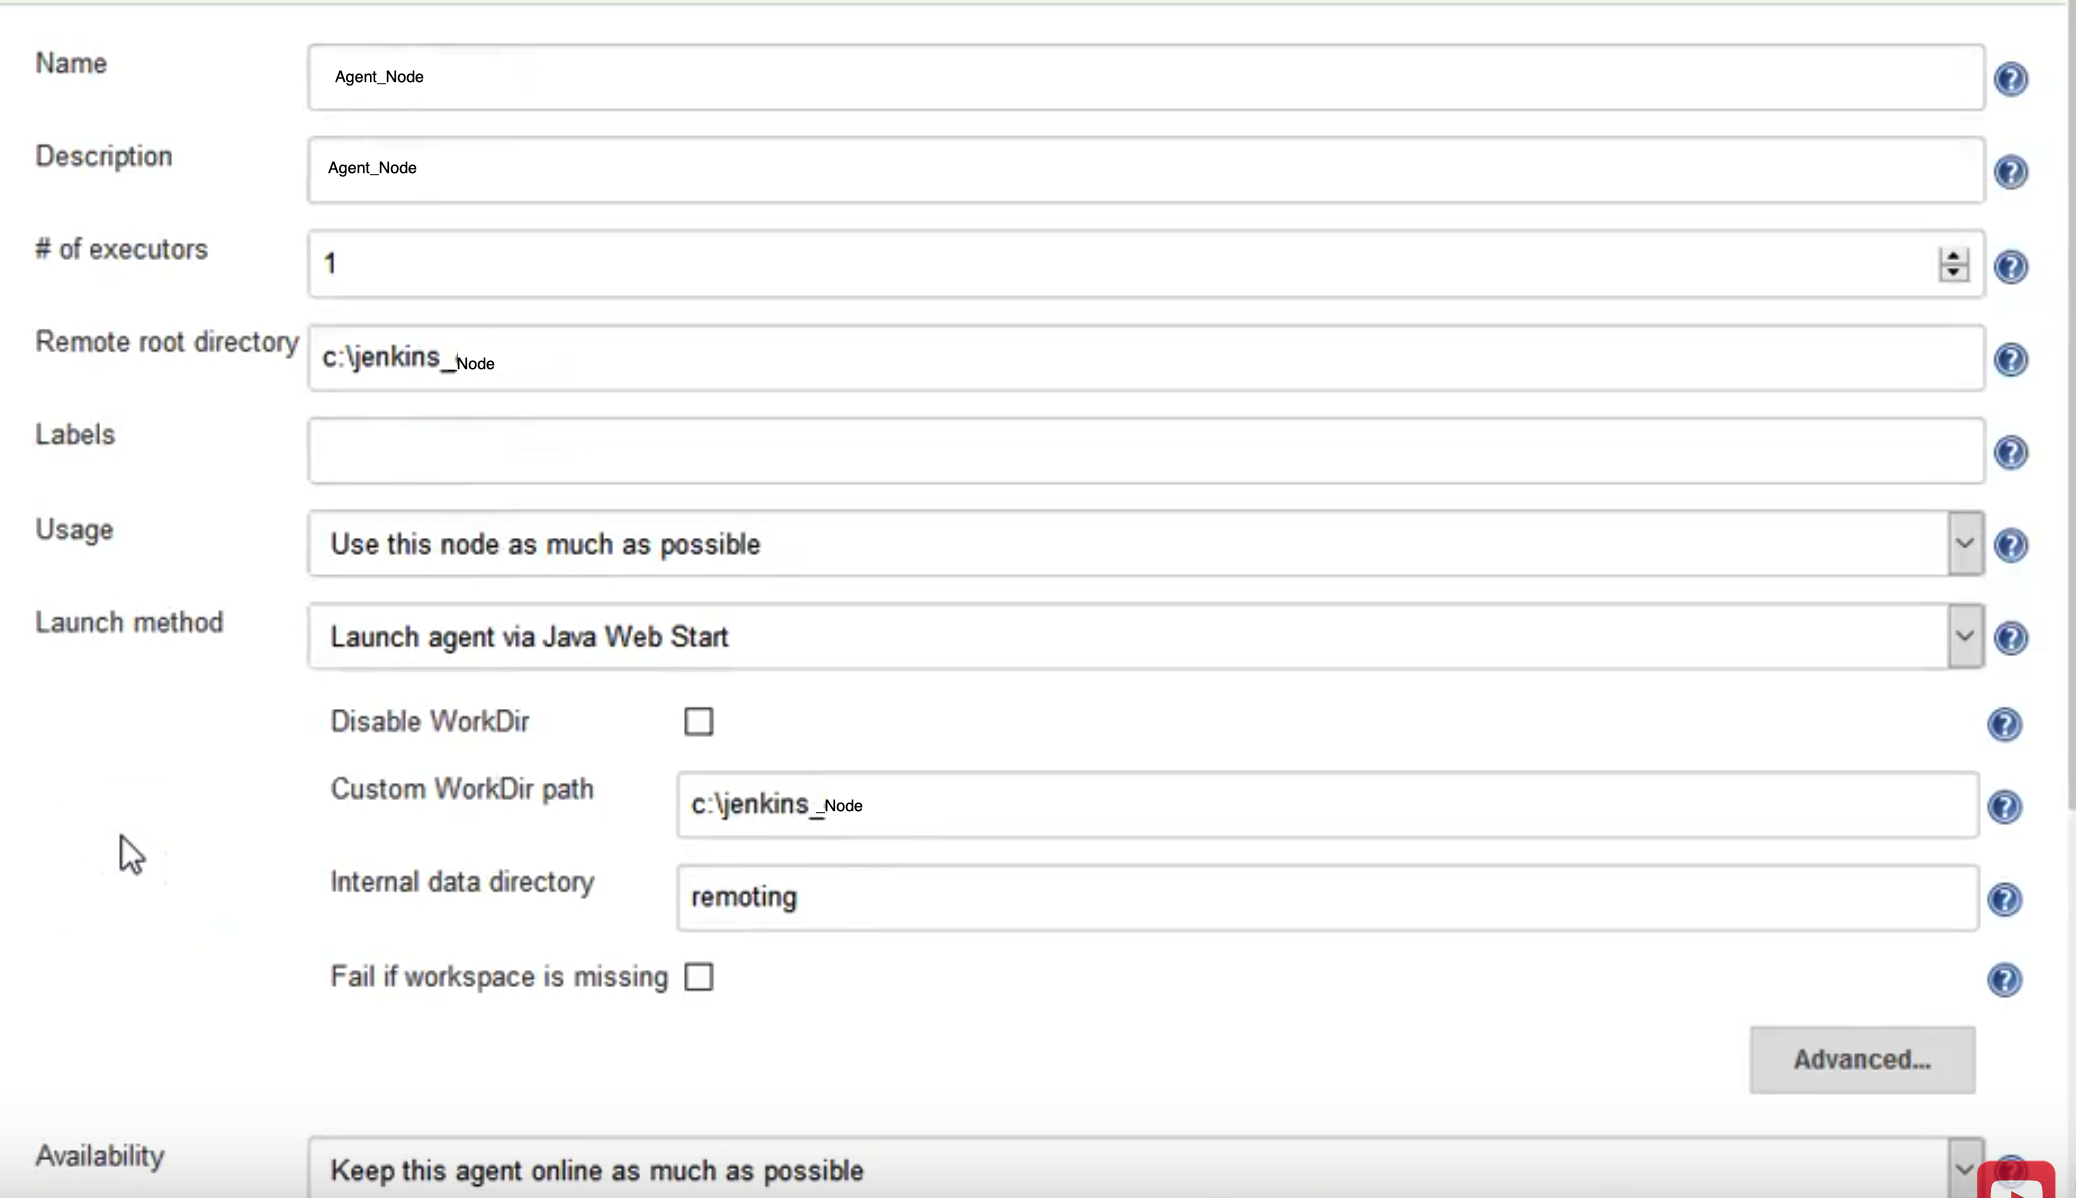
Go to Manage Jenkins –> Manage Nodes –>click on New Node –> Enter the node name –> Select permanent agent.
Fill the below details to configure the slave agent
Description
Remote root directory
This should be the workspace directory on slave agent
Label
Provide the label to uniquely identify the slave node
Launch Method
Select launch agent by Connecting it to the master for windows agents
and launch agents via ssh for linux agents

To Launch the slave agent via command line
Download the agent.jar file and copy to agent node
Run agent.jar using command line
java --jar agent.jar -jnlpUrl <jenkins master url> -secret <secret given on node configuration> -workDir "/user/agent/home/workspace"

With above command agent is authorized and registered with jenkins master. Now agent is successfully configured and launched, which can be verified on master nodes. Jenkins master can delegate jobs to agent node.